MANUAl.CAM
manual camera
we learnt how to expose images correctly, and delved deeper into the settings of a camera
SOFTWARE
adobe photoshop
long exposure pictures

SHUTTER SPEED - 5 secs
APERTURE - f/7.1
ISO - 100

SHUTTER SPEED - 10 secs
APERTURE - f/25
ISO - 100
the first photo is the one we took before fiddling with the camera settings. we decided to increase the shutter speed with the second photo, so we had more time to move around and capture more movement. however, increasing the shutter speed meant leaving the hole open for longer, letting in more light, which we didnt want. so, we decreased the aperture to f/25 to make the hole smaller so less light is let in and the background is darker. the higher the aperture number, the smaller the hole is, meaning less light is let in.

SHUTTER SPEED - 5 secs
APERTURE - f/4
ISO - 100
OVER EXPOSED - this was the first photo we took. clearly, the background is over exposed and distracts from the circle of light we are trying to make the focal point. the background is too light because the aperture is too large (f/4), meaning the hole of the camera is letting in too much light.
SHUTTER SPEED - 15 secs
APERTURE - f/22
ISO - 100
UNDER EXPOSED - for this image, we increased the shutter speed from 5secs to 15secs to capture more range of motion. we also decreased the aperture, to make the image less exposed, and make the background darker so there is less distracting from the focal point. however, it is slightly too dark, as the torch is less visible. to combat this, we should have increased the aperture to perhaps f/20, and increased the shutter speed to 20 secs.

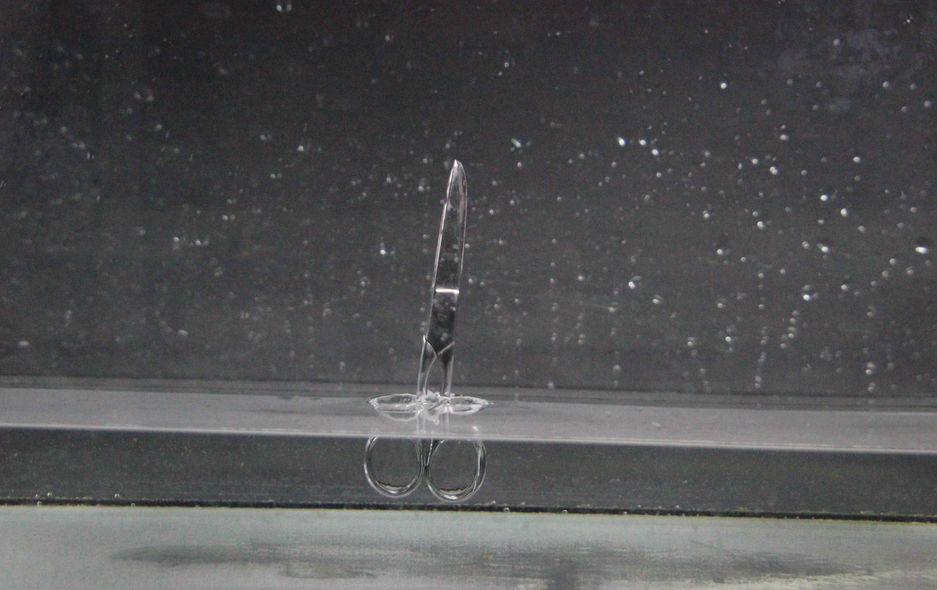
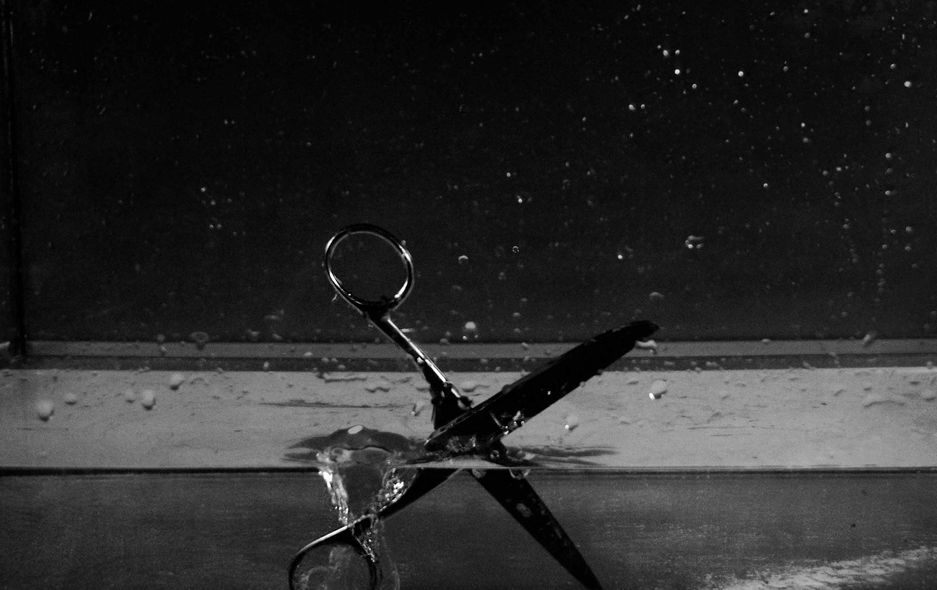
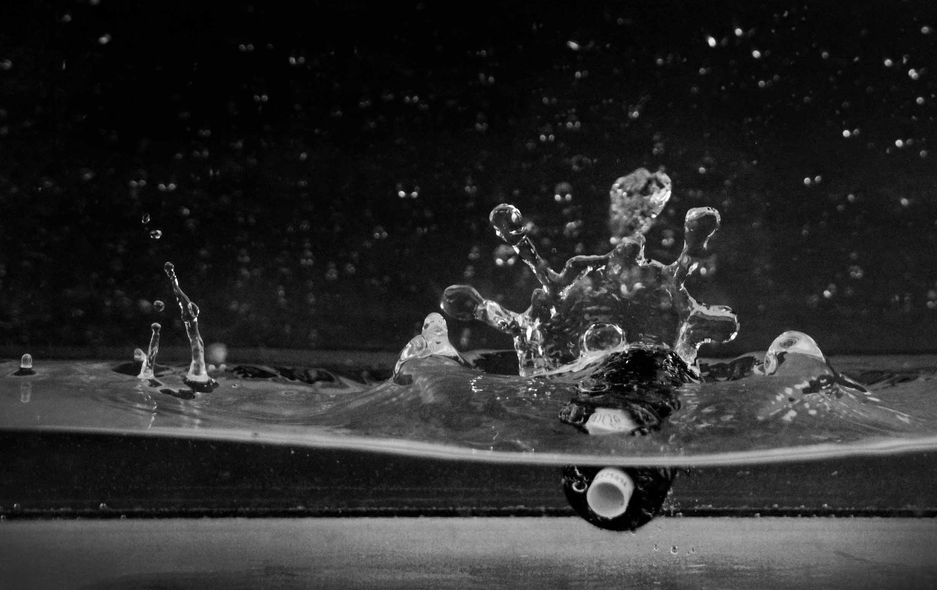
SHORT exposure pictures
CONTACT SHEETS
selections
b&w leveled edits
CONTACT SHEETS
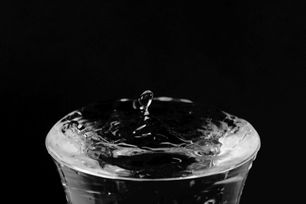
b&w levelled selections
critical links
exposure triangle


